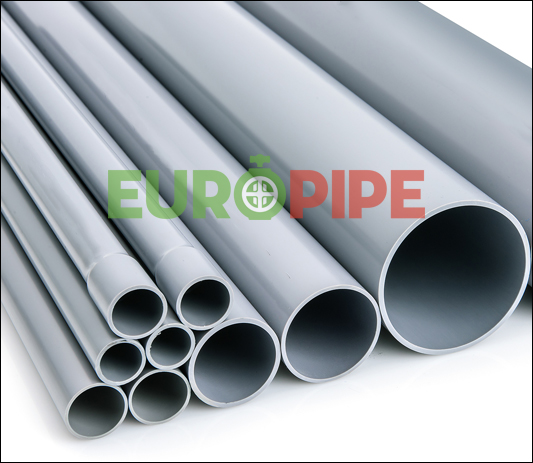
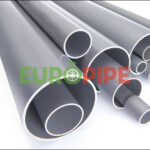
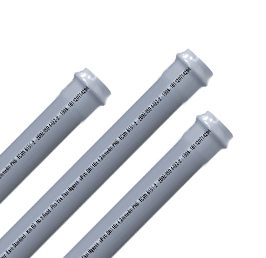
PRODUCT OVERVIEW:
- The uPVC plastic pipe is manufactured in accordance with TCVN 6151- 2:2002/ISO 4422-2:1996; TCVN 8491-2:2011/ ISO 1452-2:2009; ISO 9001:2015
- Pressure Rating: 3 bar, 4bar, 5bar, 6bar, 8bar, 10bar, 12,5bar, 16bar, 20 bar, 25bar
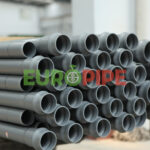
- The whole manufacturing process of Euro Green Plastic is strictly controlled with ISO 9001:2015 quality assurance system and European standards.
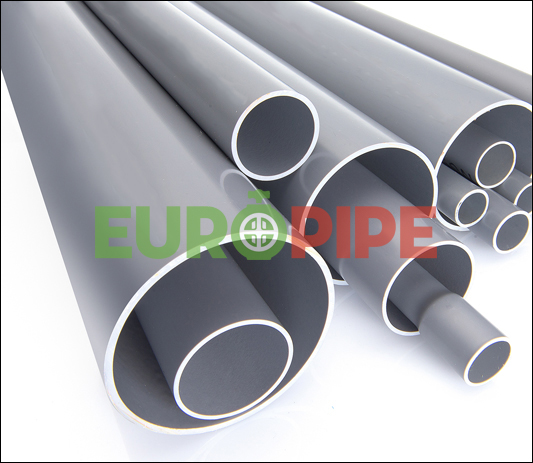
ADVANTAGES
Euro Green Plastic uPVC plastic pipes of all kinds are used popularly in water supply and drainage and some other industries because of their advantages: Euro Green Plastic uPVC plastic pipes of all kinds are used popularly in water supply and drainage and some other industries because of their advantages:
1. Light, easy to transport, and install
2. Smooth surface both inside and outside, small friction factor for good drainage and irrigation
3. High mechanical, impact, and pressure strength
4. Do not rust, resistant to chemicals
5. Non-poisonous
6. Reasonable prices
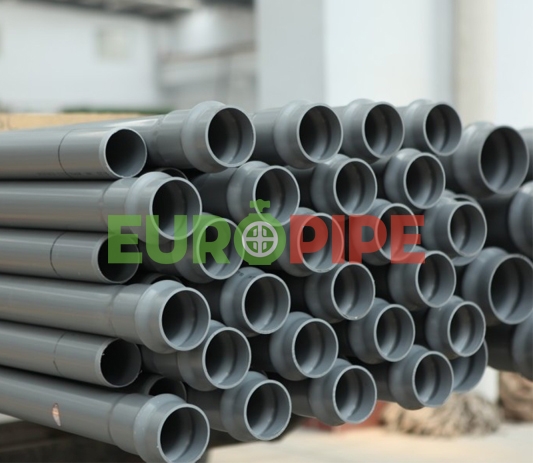
APPLICATIONS
- Light, easy to ship and install.
- Smooth surface both inside and outside, small friction factor resulting in high flow rate.
- High mechanical, strength: high-pressure resistance, fatigue strength.
- Chemical resistance.
- Non-toxic.
- Reasonable prices.
INSTALLATION SOLVENT WELD JOINT
1. Cut the pipe
If it is necessary, cut the pipe to the desired length with pipe cutters, hacksaw, or crosscut saw. make sure the cut is square.
2. Clean
Chamfer the cut ends and remove all the burrs of pipe with a knife-edge, file, or deburring tool. Make sure all joining surfaces are free from dirt, dust, water, and oil. Mark the pipe end with a socket depth line.
3. Coat
Coat the inside of the socket of the fitting with a medium layer of cement. Immediately. Apply a full even layer of cement on the pipe for a distance slightly greater than the. Depth of the fitting socket. If the cement dries on either surface before joining, apply another coat.
4. Join
Hold the pipe and fitting together firmly in position for 30 seconds (dn <63mm) or 30 seconds (dn 75mm - dn 250mm). Wipe the excess cement from the joint after assembly.
5. Test shall
Do not take the next step until the joint is cured. The hydrostatic pressure test shall be made only after 24 hours.
INSTALLATION GASKETED JOINT
1. Clean and dry
Clean and dry the inside of the bell and the outside of the spigot end of the pipe. Mark the spigot end with a socket depth line. Chamfer the spigot end of the pipe
2. Clean and dry the gasket
Clean and dry the gasket. Put the gasket into the bell groove.
3. Apply lubricant
Apply lubricant on the spigot end of the pipe and the surface of the gasket. The lubricant shall be nontoxic and shall have no deteriorating effects on the gasket and pipe materials.
4. Insert the beveled spigot end
Insert the beveled spigot end into the bell with a pulling tool until its contacts the gasket. Push the spigot end in until the reference mark on the spigot end is flush with the end of the bell. If undue resistance to insertion of the beveled end is encountered or the reference mark does not reach the flush position, disassemble the joint, check the position of the gasket, and remove any debris.

 Tiếng Việt