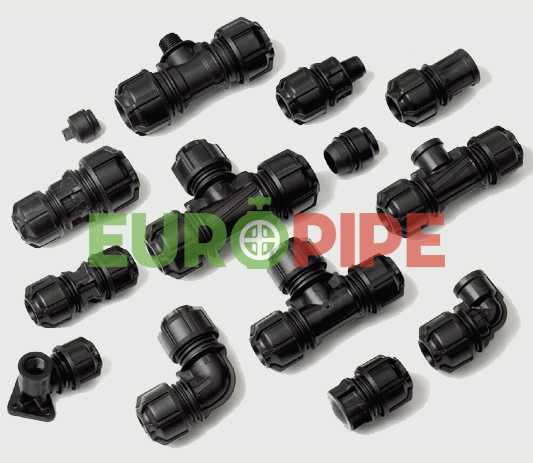
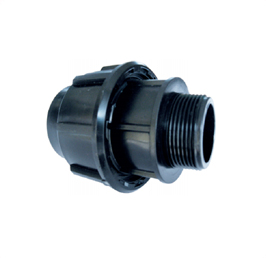
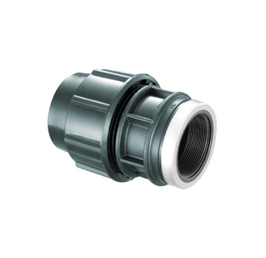
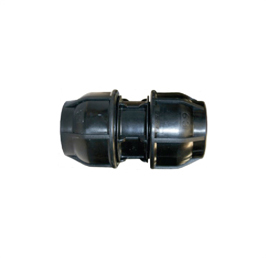
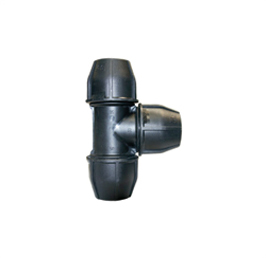
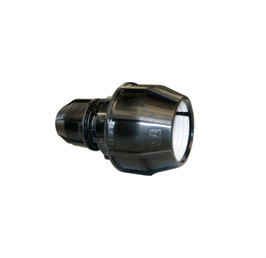
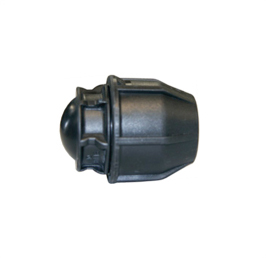
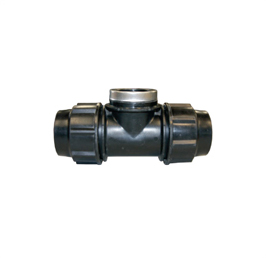
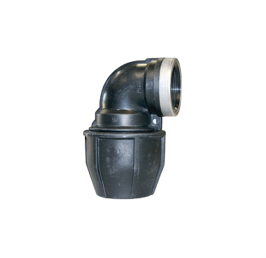
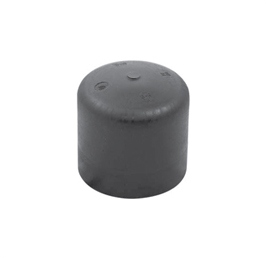
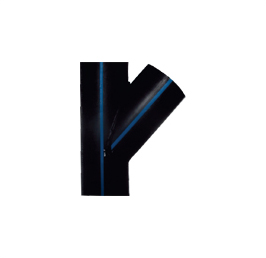
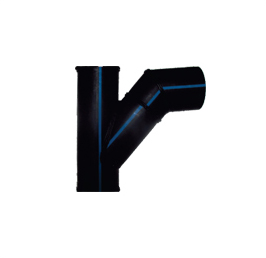
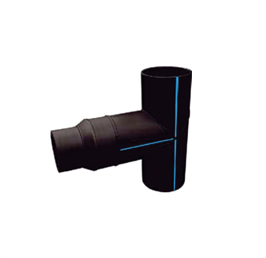
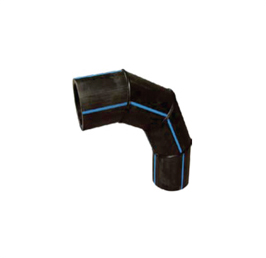
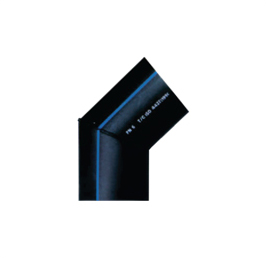
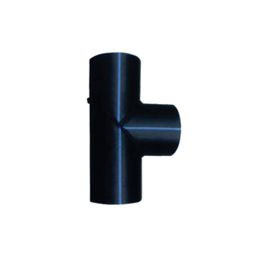
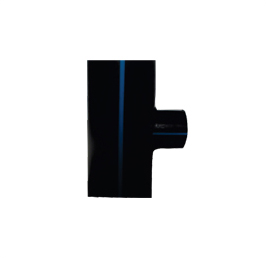
Description
GENERAL FEATURES
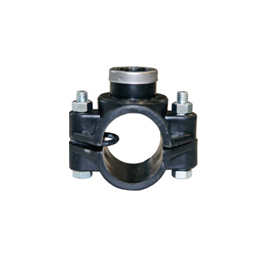
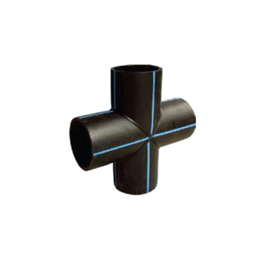
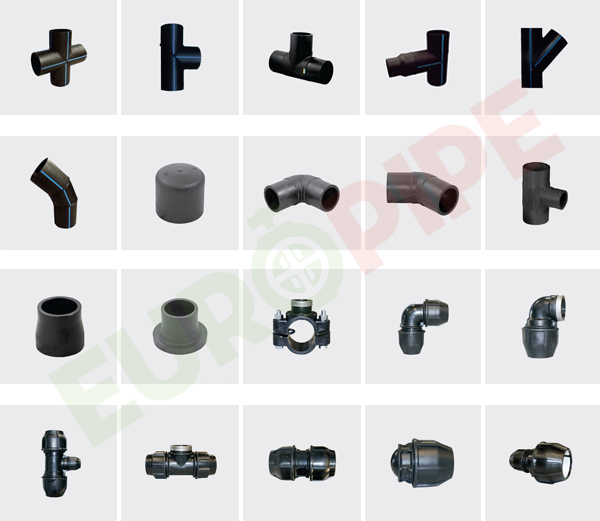
Features |
Phụ kiện nối & ren |
Molded HDPE Fittings |
Fabricated HDPE Pipe Fittings |
|
PE 100 or PP Material |
PE 100 |
PE 100 |
Size |
From DN 20mm through DN 110mm availability |
From DN 40mm through DN 1200mm availability |
From DN 110mm through DN 1200mm availability |
Pressure Rating |
16 bar or other nominal pressures available upon request |
10 bar, 12.5 bar, 16 bar, or other nominal pressures available upon request |
6 Mbar, 10 bar, 16 bar, or other nominal
pressures available upon request |
Standard |
ISO 4427-3:2007; BS 1555-3:2010 |
ISO 4427-3:2007; BS 1555:2010; BS 1519 |
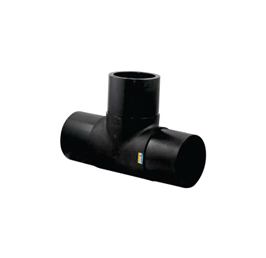
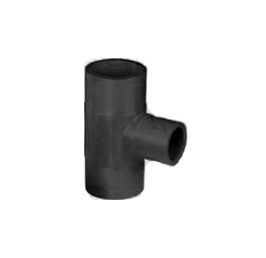
Color |
Black |
Black |
Black and green stripes |
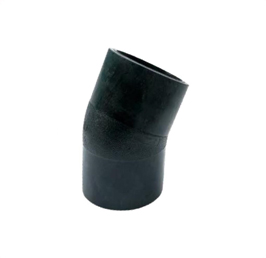
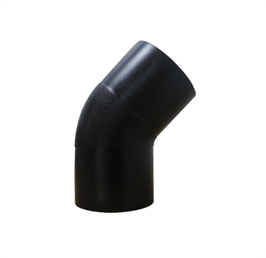
Angles |
|
|
Various angles are available upon request |
Joint |
Connect Pipe and Fitting by Adapter or Threaded Joint |
Connect Pipe and Fitting by Flanged or welded joint |
Connect Pipe and fittings by welded joint |
OUTSTANDING PROPERTIES
- Non-toxic: no heavy metal additives, would not be affected by dirt or contaminated by bacterium.
- Corrosion Resistance: resist chemical matters and electron chemical corrosion.
- Low Installation Costs: lightweight and ease of installation can reduce installation costs.
- High Flow Capacity: smooth interior walls result in low-pressure loss and high volume.
- Longevity: More than 50 years under proper use. In theory, it can be more than 100 years.
APPLICATIONS
- Municipal water supply
- Commercial & Residential water supply
- Industrial liquids transportation
- Irrigation pipeline system
- Sewage systems
- Supply of gaseous fuels (BS1555)
INSTALLATIONS
I. INSTALLATIONS ELECTROFUSION JOINT |
II. BUTT FUSION JOINT INSTALLATIONS |
1. Clean and mark
Clean up the connection part, mark the inserting depth. |
1. Prepare
Prepare the necessary tools. |
2. Scrape
Scrape and polish the joint surface. |
2. Clamp and clean
Clampdown the pipe on the jig, clean up the joint parts, mill the joint sides, and then adjust the joint parts to make the misplacement less than 10% of the wall thickness. |
3. Align and restrain the fittings to the pipes. |
3. Heat
Put the heating panel in between the two ends. |
4. Apply electric current
Apply the electric current to the fittings; the joining parts will be heated and melted, turn off the current when there is melt flowing in the observation hole. |
4. Join
Remove the heating panel after finishing heating, join the two heating parts swiftly, increase the pressure up to the fusion-joint pressure and keep it until it cools down. |
5. Cool
Cool without movement or pressure. |
5. Complete
Butt Fusion Joint is completed. |