Tiếng Việt
GENERAL FEATURES
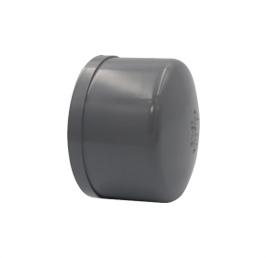
- Material: Unplasticized Poly (Vinyl Chloride)
- Size: From DN21mm to DN 220mm
- Working pressure: PN6 – PN16
- Standard: TCCS 311/2019 - TCVN 8491/2011.
- Color: Gray
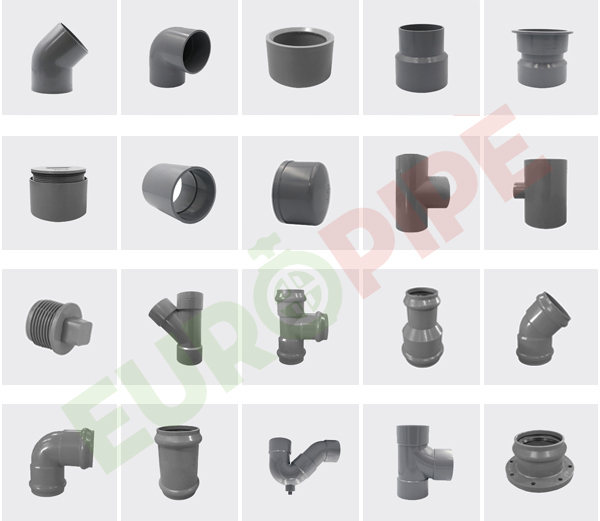
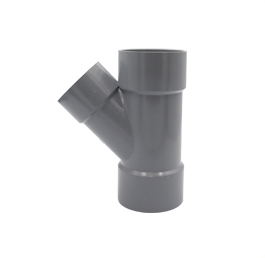
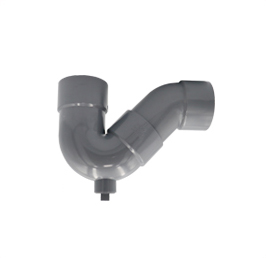
EuroPipe not only provides quality uPVC pipe products but also provides customers with a synchronous solution with a wide range of uPVC accessories included:
– Variety of categories;
– Quality meets European standards;
– Easy and smooth tube integration;
– Health safety.
Contact us:
* (+84) 866 820 488
* (+84) 96 807 3208
GENERAL FEATURES
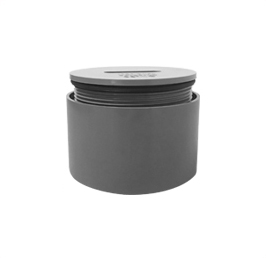
- Material: Unplasticized Poly (Vinyl Chloride)
- Size: From DN21mm to DN 220mm
- Working pressure: PN6 – PN16
- Standard: TCCS 311/2019 - TCVN 8491/2011.
- Color: Gray
OUTSTANDING PROPERTIES
- High flow efficiency: Smooth fittings and minimized friction does not cause great resistance to flow and achieves high flow rates.
- Low installation costs: Lightweight, easy to install and transport, so it leads to a reduction in the cost of processing and installation.
- Durability: More than 50 years of use
- Environmentally friendly: UPVC can be used for recycling.
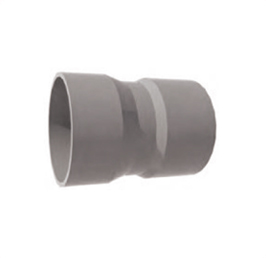
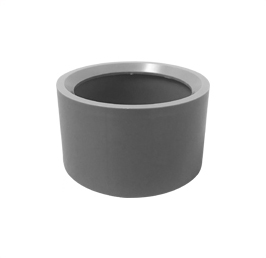
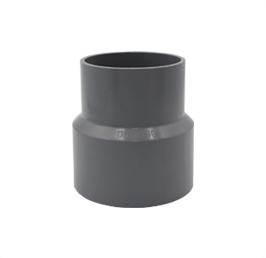
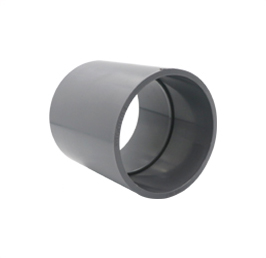
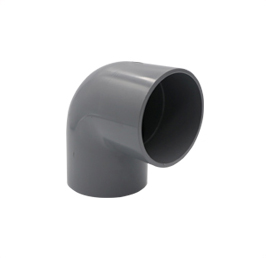
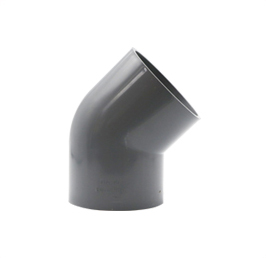
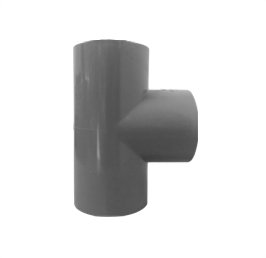
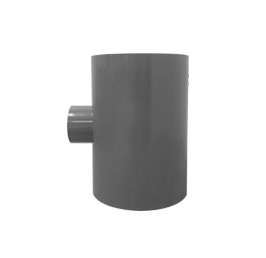
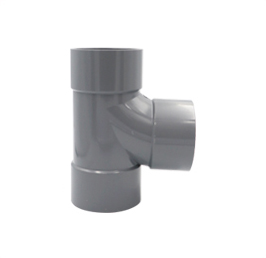
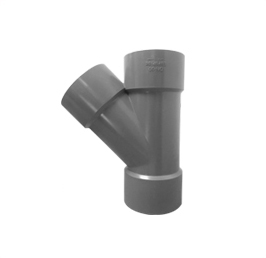
APPLICATIONS
Used to connect uPVC plastic pipes applied in civil and industrial water supply and drainage systems.
INSTALLATION SOLVENT WELD JOINT
1. Cut the pipe
If it is necessary, cut the pipe to the desired length with pipe cutters, hacksaw, or crosscut saw. make sure the cut is square.
2. Clean
Chamfer the cut ends and remove all the burrs of pipe with a knife-edge, file, or deburring tool. Make sure all joining surfaces are free from dirt, dust, water, and oil. Mark the pipe end with a socket depth line.
3. Coat
Coat the inside of the socket of the fitting with a medium layer of cement. Immediately. Apply a full even layer of cement on the pipe for a distance slightly greater than the. Depth of the fitting socket. If the cement dries on either surface before joining, apply another coat.
4. Join
Hold the pipe and fitting together firmly in position for 30 seconds (dn <63mm) or 30 seconds (dn 75mm - dn 250mm). Wipe the excess cement from the joint after assembly.
5. Test shall
Do not take the next step until the joint is cured. The hydrostatic pressure test shall be made only after 24 hours.
INSTALLATION GASKETED JOINT
1. Clean and dry
Clean and dry the inside of the bell and the outside of the spigot end of the pipe. Mark the spigot end with a socket depth line. Chamfer the spigot end of the pipe
2. Clean and dry the gasket
Clean and dry the gasket. Put the gasket into the bell groove.
3. Apply lubricant
Apply lubricant on the spigot end of the pipe and the surface of the gasket. The lubricant shall be nontoxic and shall have no deteriorating effects on the gasket and pipe materials.
4. Insert the beveled spigot end
Insert the beveled spigot end into the bell with a pulling tool until its contacts the gasket. Push the spigot end in until the reference mark on the spigot end is flush with the end of the bell. If undue resistance to insertion of the beveled end is encountered or the reference mark does not reach the flush position, disassemble the joint, and check the position of the gasket, and remove any debris.
 Zalo
Zalo